DSLR Photography for Beginners – Understanding Aperture
There are a number of tips when it comes to DSLR photography for beginners and one of the terms you will commonly come across is aperture. This is part of the exposure triangle that you would always come across when you start to dig deeper into photography. Once you decide to get out of the automatic mode in your DSLR, you have to start paying attention to how aperture affects your shots.
The automatic mode in your DSLR
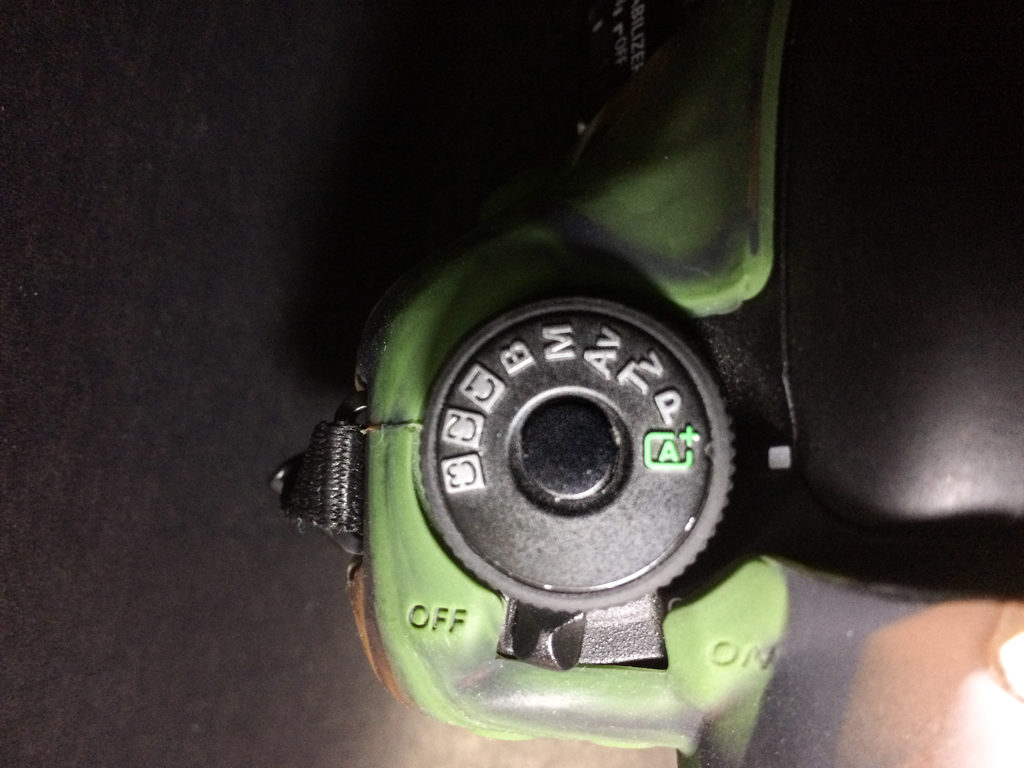
When you start using a DSL or any other camera, there is a big chance that you started with the automatic dial. This lets you concentrate on the shot while you leave it up to the camera to decide what the exposure would be including the aperture. This is a good start but you need to learn how to use your DSLR to the fullest.
What is Aperture?
When talking about an aperture, it refers to the amount of light that you let into your camera’s sensor. Remember that in photography, light plays a crucial part in how you get the shot from what you imagined it to be to your camera. The more control you have over light, the better you can create your shots. Of course, you can bring your photos into Lightroom and make adjustments but it is always best to get it right straight out of the camera.
Think of aperture like a window at home on a bright sunny day. The wider you open the window, the more light gets in, the brighter your photo would be. It follows that the smaller that window opening is, the less light you are letting into the room. Aperture works almost the same way as that window when it comes to the amount of light coming in.
When you start to look into DSLR photography for beginners, the aperture is measured as stops of light measured in F stops.
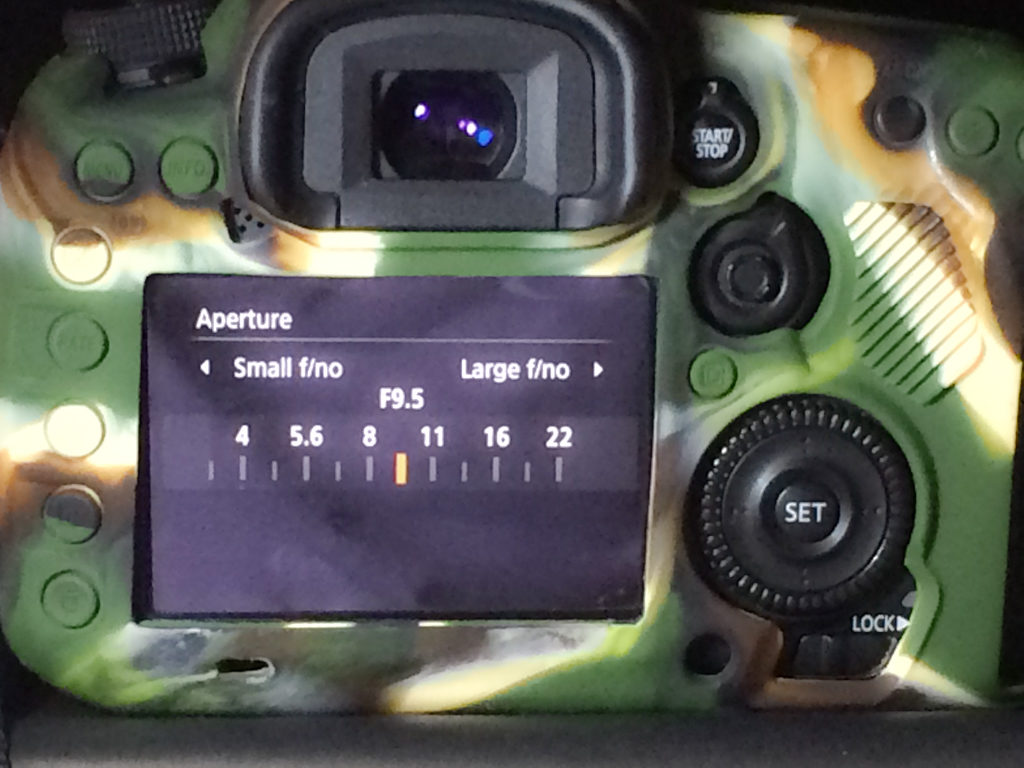
The idea is that the smaller the F-stop, the bigger the opening is and more light gets in. Following the same idea, the higher the F stop, the smaller the opening and less light get into your DSLR’s sensor. Your aperture works in tandem with your shutter speed and ISO when it comes to the amount of light but this is how you aperture affects the amount coming in.
Changing and adjusting your aperture
When you talk about DSLR photography for beginners, you would be looking at how to adjust your aperture to control light. On your camera, you’ll see ‘f/’ followed by a number and this is where can make adjustments on your aperture. Each camera brand has a different key that corresponds to aperture but that would be easy to locate.
As you turn the dial, it can increase or lower down your aperture setting. One thing you need to remember with this is that you have to keep practicing. You need to be able to adjust your aperture to get the shot you want. This is because when you start to take your game to the next level and start shooting for events, you need to be able to make aperture adjustments quickly.
Aperture priority mode
In most DSLRs, there are semi-automatic modes that help you ease off from using automatic mode to manual. One of them is the aperture priority mode.
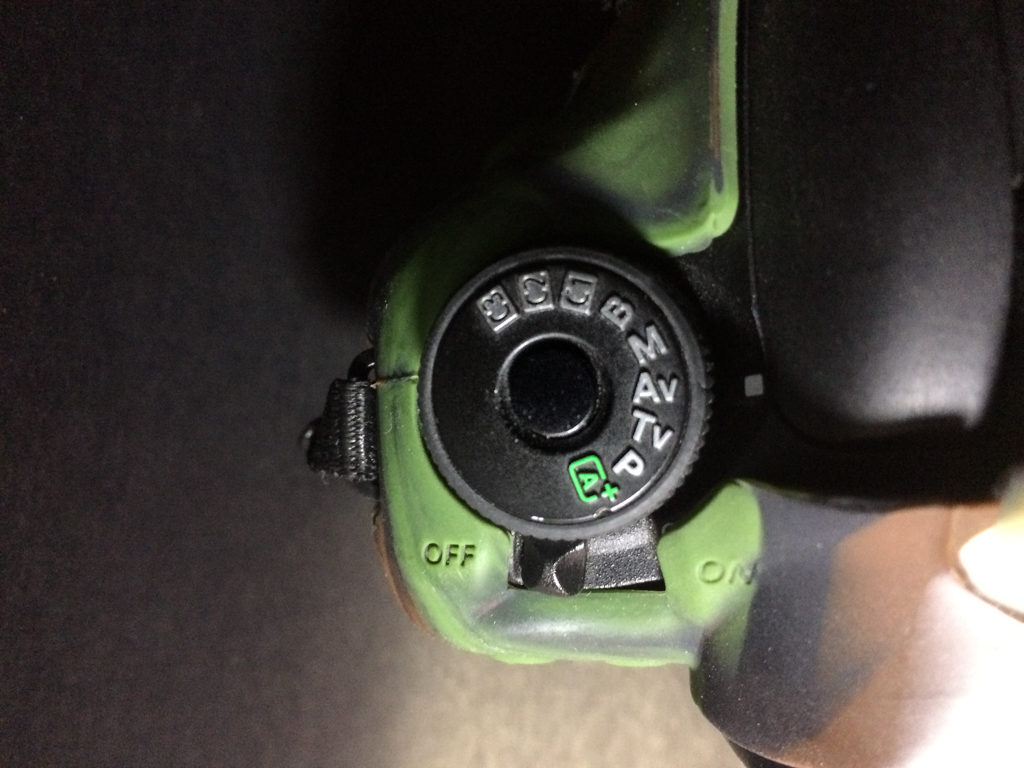
This is one of the great tips in DSLR photography for beginners because it allows you to control the aperture and allow the camera to adjust everything else. This already gives you a lot of creative control when it comes to your light. This mode is best used when you have a good light or a sunny day, when doing portraits, and when you want to control your depth of field.
Depth of Field
When you start to move into more advanced features and shots, you will come across depth of field or oftentimes abbreviated to DOF. As the name suggests, it controls your field of view and allows you to control which ones are in focus and which ones are not. Before we go any further, take a look at the illustration below to understand it better.
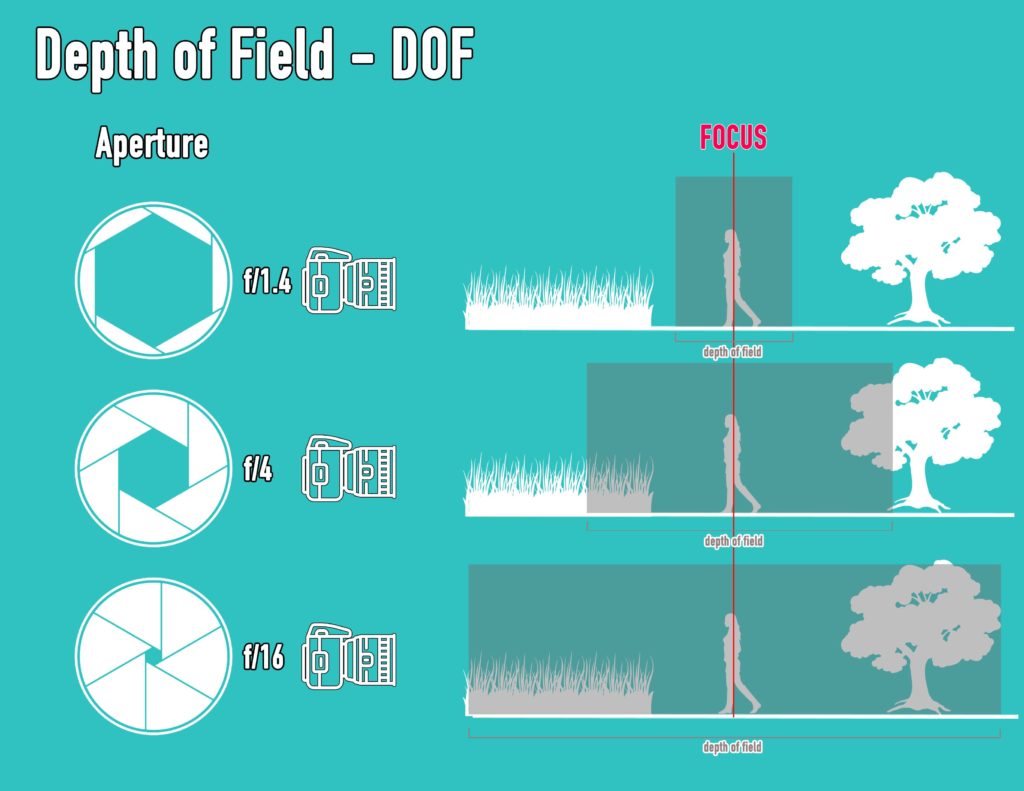
If you notice, the smaller your aperture is, the shallower your DOF will be. This gives you the creative freedom to emphasize or focus on your subjects while blurring everything out. When applied to lights, this is what you call bokeh. You get blurred bokeh of lights while putting your subject in focus.
The bigger your aperture is, the more you have on focus in your shot. Your foreground and background start to come to life.
Fixed lenses
It might be hard to accept it but not everything in life are created equal. With this, photography is one of them. When you start to look at DSLR photography for beginners, it is likely that you will focus on your kit lens at first. This is the lens that usually came with your DSLR. It is a good starting point for any photographer but soon, upgrades are necessary and you usually start with your lenses.
As you upgrade your camera gear, you will come across what the industry refers to as a fixed aperture lens. The reason why they are called fixed lenses is that their aperture is at a constant number throughout the focal range. You can change the focal length, or zoom, but your aperture remains the same giving you greater control over the light at longer focal lengths. However, you can still adjust your aperture to get a deeper DOF. These lenses will make a dent in your finances when you purchase them, although they are the best lenses for DSLRs. Once you have them and use them, you will likely not want to use variable aperture lenses again.
There are also zoom lenses where you get a variable aperture across the focal ranges. These lenses give you zoom, and often great images, but you lose the control of aperture as the focal length increases. These types of lenses are also quite expensive but a great addition to your gear.
DSLR photography for beginners is a fun and creative journey you can take to bring your images to the next level.
For more information on aperture check out this book.
Next Article: Handling Cameras And Gear Easily – Photography Tips
Previous Article: Adobe Lightroom CC Basic Tutorial
List of All Articles

4 response to "DSLR Photography for Beginners – Understanding Aperture"